Showing posts with label Tech Tools. Show all posts

Tuesday, October 13, 2020

padlet for Recording Student Reading

One of the strangest parts of teaching remotely is not hearing the noise of student talk in classrooms, or sometimes students' voices at all. When meeting with the 6th grade ELA teachers from across the district last week, several of them brought up the concern of not being able to hear students read out loud very often. This was something I'd actually been thinking about over the summer when I was considering the many different ways in which we could use padlet for remote instruction.

padlet is a versatile tool because it allows students to express their understanding and learning in multiple ways. Students can type, draw, film or record themselves, and more.  Many students prefer to keep their cameras off, for a variety of legitimate reasons, but the film recording is one option for students who don't mind showing their faces but need to find the right time and place to have a distraction-free environment. The audio recording feature has good appeal as a way to keep in touch with what students are reading and to hear how they are reading.

I envisioned  just a few possible ways this could be organized, but of course there are many more possibilities. 

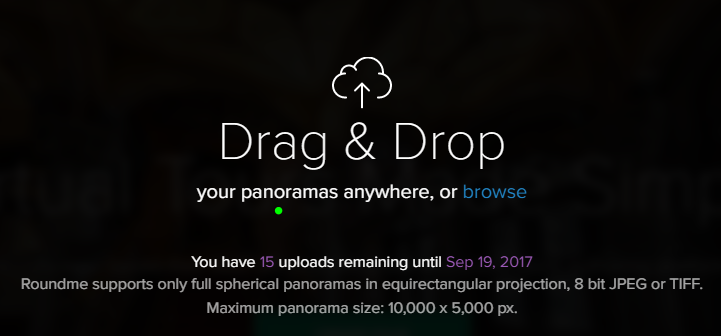
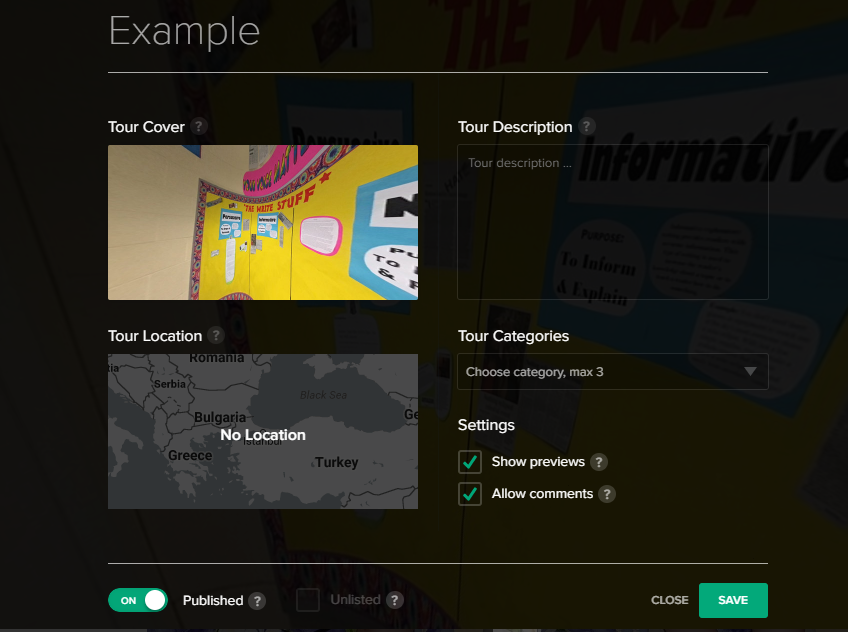
1. Teacher-created: Create a padlet using the "Grid" or "Wall" format for the page. Ask students to create a post in which they include their name, the title of the book they're reading, and a page number. Student can then click the three dots icon to produce the dropdown and select the purple "Voice" icon.  This allows students to record themselves for up to 15 minutes. Although they shouldn't need that much time it's nice to know a slower reader won't be cut off before finishing their page. I created an example padlet like this and set it so that I could both add a comment and give a "grade" is this was something I were scoring or tracking. Even if I were not going to give a score to these recordings, I'd still keep the comment feature open so I could provide feedback. Here is a link to the example padlet with an example student post. One drawback to having all students post to this same padlet is that they would all be able to hear each other's recordings. While it might be nice for students to see the books their peers are reading, I can also see why this might not be desirable so I started brainstorming other ways I might organize this. 

2. Teacher-created & Organized: Create a padlet using the "Shelf" format for the page, which will allow you to have student recordings organized in whatever system makes sense for you. In the example, I created columns by month because I thought it would be a nice way for students to collect their progress across the year. The brief video below shows how to set up this padlet, with comments, grading and the Require Approval Setting. By requiring post approval, none of the students' post will be visible on the public padlet until you listen and give your approval. This is a way to to limit students listening to each other's posts if you are concerned about that. 

After all students have submitted a post, you could also go in and create a password for the padlet so that students cannot go back and look at the padlet until or if you give them the password.

3. Student-created: If you wanted students to create their own padlets to recording their reading there are a couple of easy steps. First, students need to create their own padlet accounts. This is free and easy to do by visiting this link. Second, you would could show students how to create their own padlet OR you can set up a template for how you want it organized and ask them to create a REMAKE of the template. By copying the format and the posts, students will have a ready-made padlet for them to begin recording their reading. The video below shows how to create Remake of an existing padlet. Note, students must have their own padlet account in order to create a Remake.


Reading out loud to our students whether during live lessons or in pre-recorded videos during independent work is a great way to continue exposing students to model fluent readers. It's also important for us to hear how students are progressing in their reading especially since they may not have as many opportunities to practice reading while at home. padlet is just one tool that we can use to record and collect our student reading, as well as provide feedback. I'd love to hear how teachers are using this and other tools to stay connected to students' reading!


Sunday, September 17, 2017

UDL Virtual Tours: Environment Design

The start of the school year is often the time when teachers put into place the new decorating ides they've been thinking about over the summer.  It can be really tempting, especially if you've ever fallen into a Pinterest black hole or two, to add details to make your room look cool. An aesthetically pleasing classroom may look great, but it's important to also think about the users.  A universally designed classroom thinks first about its users--the learners--and the cool factor is an added benefit to all users.


Over the summer I watched a live-streamed video from the UDL-IRN that specifically spoke about the intentional environment designs in a classroom to make the room accessible and comfortable for all learners.  7th Grade ELA teacher Tanya Leon let us into her classroom and explicitly talked through the design decisions she had made.  Given that UDL is a problem-solving, solution-oriented framework, Tanya talked about the barriers she had encountered over the years with her writing workshop.  To minimize this barrier she included some small tables for writing groups and small group conferences.  She also appealed to her students to ask what they would like to see in their classroom.  Some students requested high-top cafe tables because it made them feel older.  This is a great example of a design decision she never would have made without asking for students' feedback.  I imagine students probably take pride in their classroom when they've had a say in how it's designed.  It's certainly not realistic or necessary for teachers to purchase furniture like this on their own.  Finding furniture that friends/family are looking to get rid of and using it in your classroom is one way to work on your design.  DonorsChoose.org is also a way for teachers to receive donations from others to benefit their students.  To listen to and see Tanya's portion of the webinar click the link here. http://tinyurl.com/T-L-classdesign

With the importance of intentional environment design and the help of our school's Technology Specialist (@j3dupuis), I recently put together something I'd been thinking about for a quite a while.   Several years ago at the UDL Summer Institute, I  saw a virtual tour of an empty classroom in a district that had been implementing UDL for a few years. Though the classroom had no students or teacher in it, there was still a lot to learn from the environment and materials themselves.  As visitors "toured" the classroom, we were able to click on magnifying glass shaped hot-spots that provided information about what intentional decisions the teacher had made concerning the physical space and available resources in the classroom.  I loved the idea of these virtual tours  but I wanted to recreate this with classrooms from our school to help SBA staff members see the purposeful environment designs their colleagues make to help them think about their students and their classrooms. A quick conversation with the tech teacher helped us stumble upon Roundme.

SBA UDL Virtual Tours
Take a step inside the a few SBA classrooms and see how they've designed their environments thinking about their learners.


360 Virtual Tour of SBA Classrooms

Grade 6  Classroom


Grade 7  Classroom


Grade 8  Classroom


Roundme  
Roundme is a website and an app that allows you to easily create virtual reality tours from your personal photos.

Signing up for a Roundme account is free and allows you to create up to 15 tours a week.  There is a paid version available with additional capabilities and educators are entitled to a 50% discount if you provide the school's Tax Id. For the purposes I needed, the free account was more than enough.

Creating a Tour
Once you've signed into the site, click Create Tour in the upper right-hand corner. 
You can upload one of your own photos or you can browse from a bank of photos available. I used the Panoramic setting on my phone to take pictures of the classrooms I wanted and then uploaded these.  While the photo is being uploaded, it is stretched to created a 360 view of the space, so you want to avoid using a photo of a very small space. 

After selecting the photo, click upload and wait as the photo is turned into a moving 360 tour.
 

Your photo will now appear as a moving photo, giving the view a 360 degree view of the space. 

Creating Info Hot-Spots
The hot-spot element was essential for me when creating these virtual tours because I wanted to encourage thinking beyond "looks awesome" toward "oh, that's why he/she put that in her classroom." Creating hot-spots on Roundme proved to be extremely simple!

Click and drag the round white circle with the "i" and place it on the area of the photo you want to highlight. 

Release the hots spot and these boxes will appear.  Title your hot spot whatever you want users to see when they hover off the "i" circle during their tour.
In the description you can write what you'd like visitors to know and/or add a more zoomed in image of the details you want to share more information about.  Click "Create Hotspot" and it's saved.

Saving & Sharing Your Tour
Click on the settings wheel in the upper right-hand corner and enter the details of your tour and click save.
To Publish and Share your tour, switch the green pencil in the upper right-hand corner from right to left and it will turn to a blue and white eye.  When you click on the three white dots, click Share & Export and you will generate a link to invite visitors to your tour.  


Roundme in the Classroom 
Using Roundme to create tours of classrooms prompted me to think about how this tool could be used by students.

One idea I had was a for Getting to Know You purposes: Students take a photo of a space that is important to them and insert hotspots to help teacher and peers gain more insight into their important space.  Possible spaces might be their bedrooms, a park they visit often, a church, a grandparents' house, or many more.  It's an easy way to learn more about students by seeing into their home world--where you will likely never visit.

There are many other ways to use this, I'm sure, and I'd love to hear how others would use Roundme with their students.


Sunday, August 27, 2017

Flipgrid Video Discussion


Before I explain how I created my Flipgrid, I want to note that creating a video to be shared widely is way outside my comfort zone.  I was nervous to do it, I doubted whether I should, and I subjected my kids to being my dry-run audience before I actually posted.  I mention this only because this did feel like taking a risk and one I wouldn't have taken if I didn't see all the possible ways students could benefit. If I had the opportunity to share this with students I would certainly start by acknowledging how I struggled to make this and how unsure I felt posting it to help ease their discomfort and hopefully encourage them to take risks.

Flipgrid
When I first came across Flipgrid, it  instantly prompted me to think about all the ways I would love to try integrating this with students.  Flipdgrid is both a website and an app that can be downloaded on iPads and phones.  Basically, Flipgrid is a tool where you pose a question, either through video or typing, to a community of learners.  Those who've viewed your Flipgrid then have the opportunity to respond to your prompt by creating their own short  response. It took me about 3 minutes to create a teacher/admin account using my email and a password and within 10 minutes I was creating my Flipgrid video!


Groups 
Groups are basically the classes or communities of viewers you want to reach. You might create Groups for each of your class periods, or create one grid for all your students.  Since I don't have any particular classes, I created a Group called ELA PLG.  To create a grid you just click the +New Group, give the Group a name, and upload a picture if you choose. 


Privacy: You can choose who can access your group and how. If you select Student Email, simply input @_____(your students' address) and this will require students to enter their school email to access and participate in the group.  


Topics
Once you've created your GROUP, you can think about creating Topics--the questions you want to pose to generate video responses from your learning community.  I created the ELA PLG GROUP as a way for our PLG to stay in contact during this time.  I added a Topic titled "Idle Hands..." to hopefully start a discussion and for us to share some personal victories in the midst of such uncertainty.

I made this Topic Active so people who have the code are able to view and respond.  You can also set your topic to FROZEN (view only) or HIDDEN (won't be visible or open for responses until you change the setting). Another feature is that you can create a topic and then "set a launch date" to Activate your topic and accept responses. 


Setting for Student Response:
There are many settings you can use to control what students can share, whether or not you moderate and see videos before they are posted, whether or not students can respond to peers, and other responsible use parameters you might consider putting in place depending on the ages of your students.

Alternative to Video:
Students can also respond using the WHITE BOARD feature (visible when they add to the dicussion) which allows them to write with a voice over explanation. This is similar to Explain Everything but will also appear in the grid response.  


Flipgrid in the Classroom
Whether you're already using this or are just hearing about it now, I'm positive you have many creative ways to use this with your students.  Here are just a few I've thought about. :
  • Book Talk/Review: Create a Topic(s) dedicated solely to reading and ask your students to post a Book Talk/Review for a book they've recently read or even just make a quick post about a book they are currently reading.  Again, ask students to reply to peers to expand students' exposure to different books and learn from classmates.
  • Answer Explanations: This could probably be for any subject but I was thinking about a different way to "show your work" and make students' thinking visible in math.  Pose a question to students and ask them to respond with their answer and explanation.  If it were a HW assignment the first to reply with correct answers could be rewarded.  With the moderate tool, you could wait to post students' videos to the Grid until you've received many answers to avoid "giving away" the answer. 
  • Getting to Know You: As a beginning of the year activity pose a question (nothing intensely personal) to your students and ask them to share their responses.  Additionally, have them watch at least two of their peers' videos and respond.  You get to know your students but they get to know each other.
  • Read Aloud: Students could record themselves reading aloud sections of a book they are enjoying or the text you've assigned and share their response to the text. One of the challenges with incorporating the reading standards into remote learning is that we're often assessing students' reading through writing.  While writing is often a solid measure of a students' comprehension, it sometimes creates more barriers for students who struggle to write.
These are just a few of the ideas that have surfaced for me since learning about this tool.  If you are interested in learning more I highly suggest following @Flipgrid and checking out the hashtag #FlipgridFever. Both will provide you with many ideas for how teachers all over the world are integrating Flipgrid into their classrooms. There are also a number of articles and other posts about Flipgrid in the classroom.  I recently read one titled, "5 Strategies for Using Flipgrid in the Language Learner Classroom," in which a Language Learner shares his successes and struggles using Flipgrid with his students.